
Martini Cadet 310 Remington 16 Ga Double


Remington needing a new stock and Martini needing a new firing pin. These two lovely old long guns were brought to me by a gentleman, a retired gun smith, who is losing his eyesight and is no longer able to complete some of the fine work needed to repair and restore many of the firearms in his collection. He has been a great resource in my own training. I think he may be bringing me a variety of projects as a way of continuing my education. He doesn’t know how much I appreciate it. The Remington restock project had been started with the buttstock exterior shape nearly finished. The inletting was nearly complete, but needed a few more areas relieved for smooth operation and to clear the safety mechanism. The fore stock was just a block of wood, with the primary inletting started but needing more relief under the latch spring and a little more relief under the latch bar. The rest of the stock needed to be brought to its final shape, both stocks finish sanded and finished with multiple coats of Daly’s teak oil and some cold bluing touch up on some of the metal and replacement screws. Everything went back together well, and an old field piece has a new chance to take a few birds.
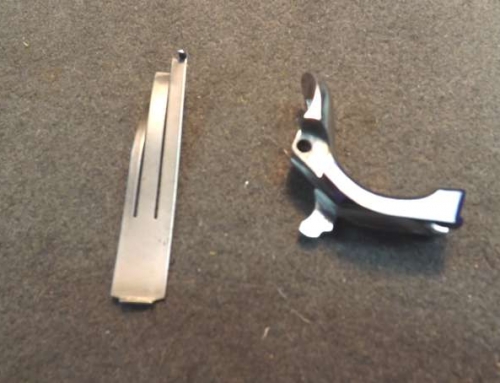
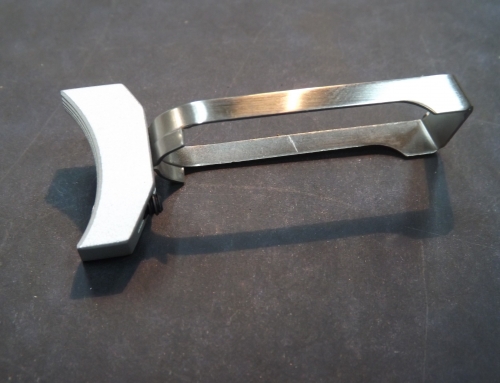
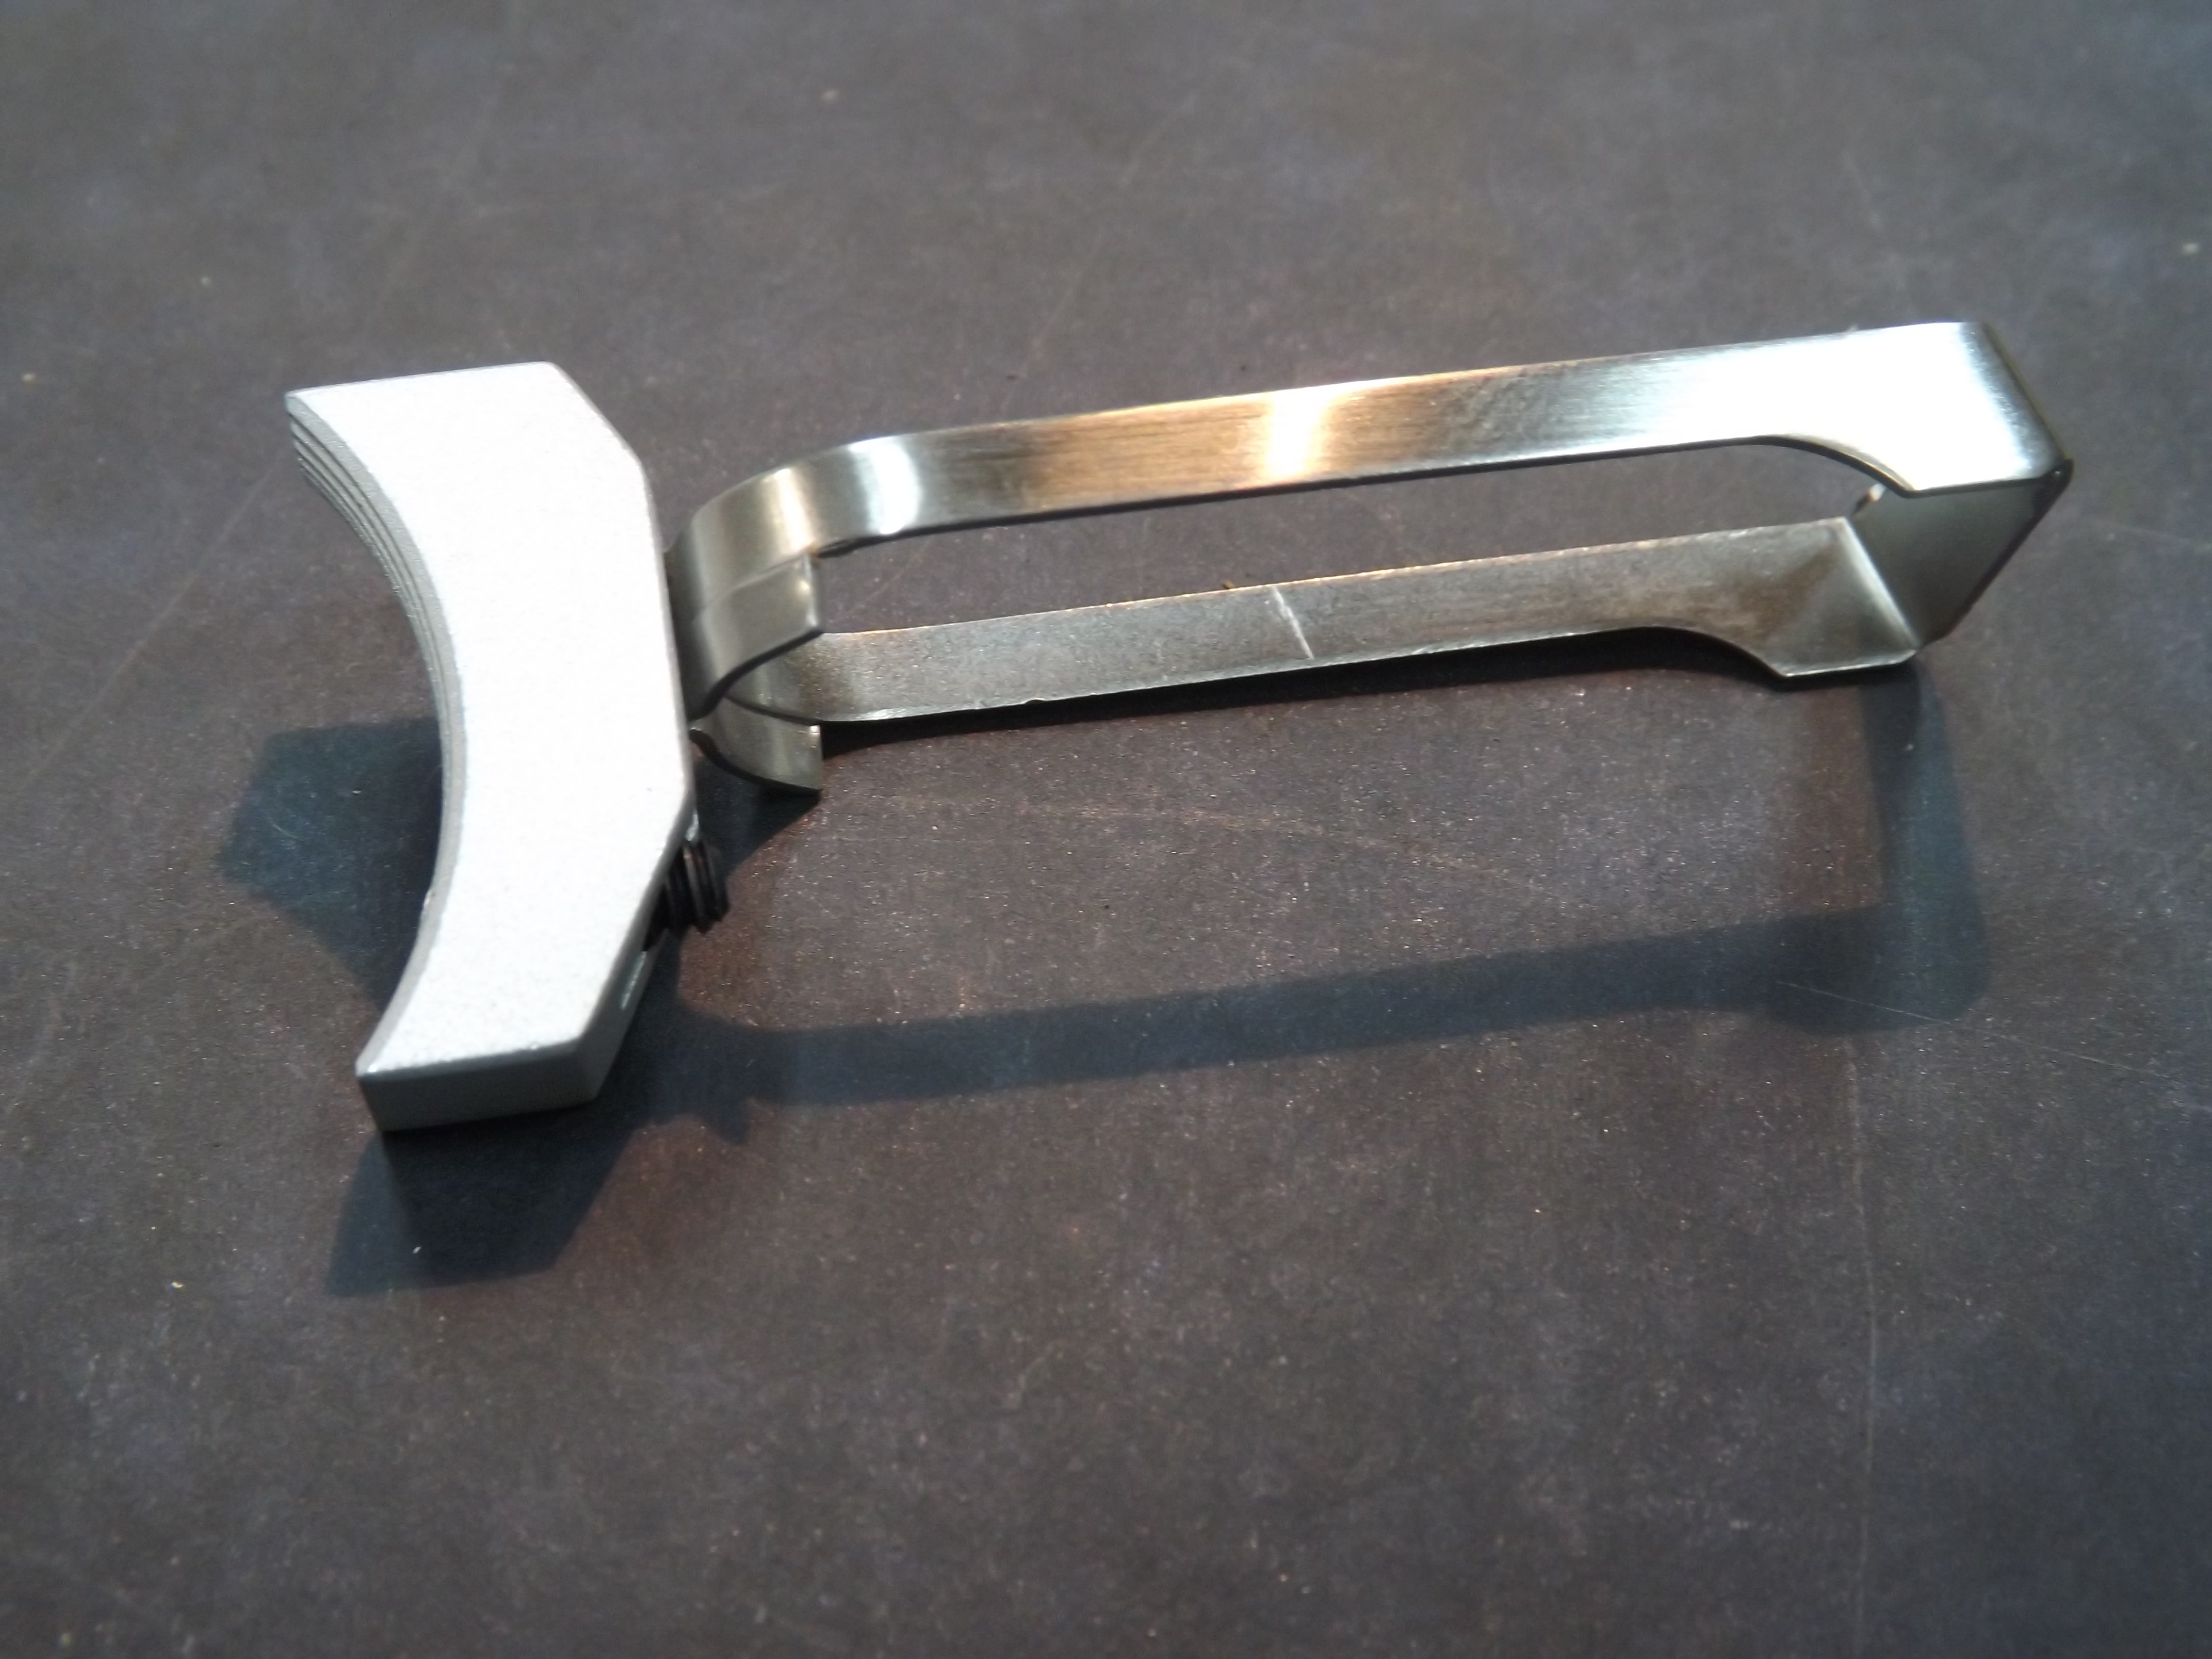
The Martini is a delightful action to work on. It is simple. Basically a striker fired, single shot, originally used as a training weapon for the Australian military in the early 50’s. The owner had converted this one with a new Shilen barrel, chambered for the .218 Bee. But, the firing pin had either broken or sheared off to the point where it didn’t extend through the breech block. This firing pin is an interesting shape with a slot in the rear that is engaged by the cocking lever which holds the pin to the rear when the action is cocked, a flanged head that receives the action spring that drives the pin forward when the trigger is pulled and a tip that extends through the breech block to hit the primer. It was the tip of the pin that had been damaged. Repairs involved milling off the broken pin tip, milling a recess in the remainder of the flanged head, soldering in a piece of drill rod to be used as a replacement tip and turning the replacement tip to length and diameter. The work done turned out well. Tomorrow I get to try it out and see if the primer ignition problem has been resolved.