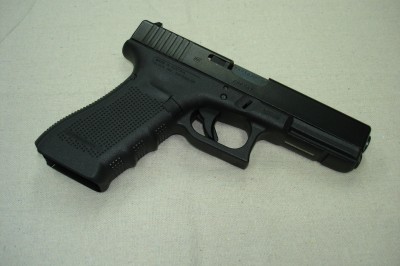
 The Ruger Blackhawk is one of the most rewarding single action revolvers to smooth a trigger on! This one had a long and creepy pull with two distinct rough spots before it stopped and released the hammer. The customer indicated it was a significant problem when trying to hunt with the gun. I had to agree. After trying it in the shop, even without ammo, I found myself jerking the trigger at the release point, just to get past that last stop.
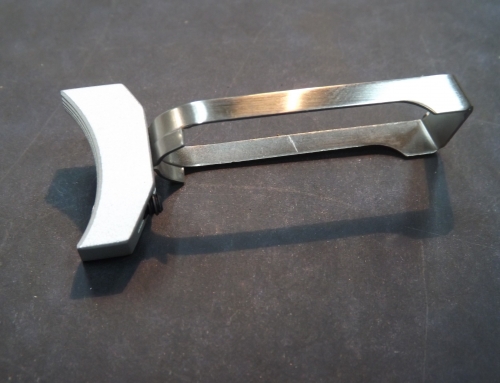
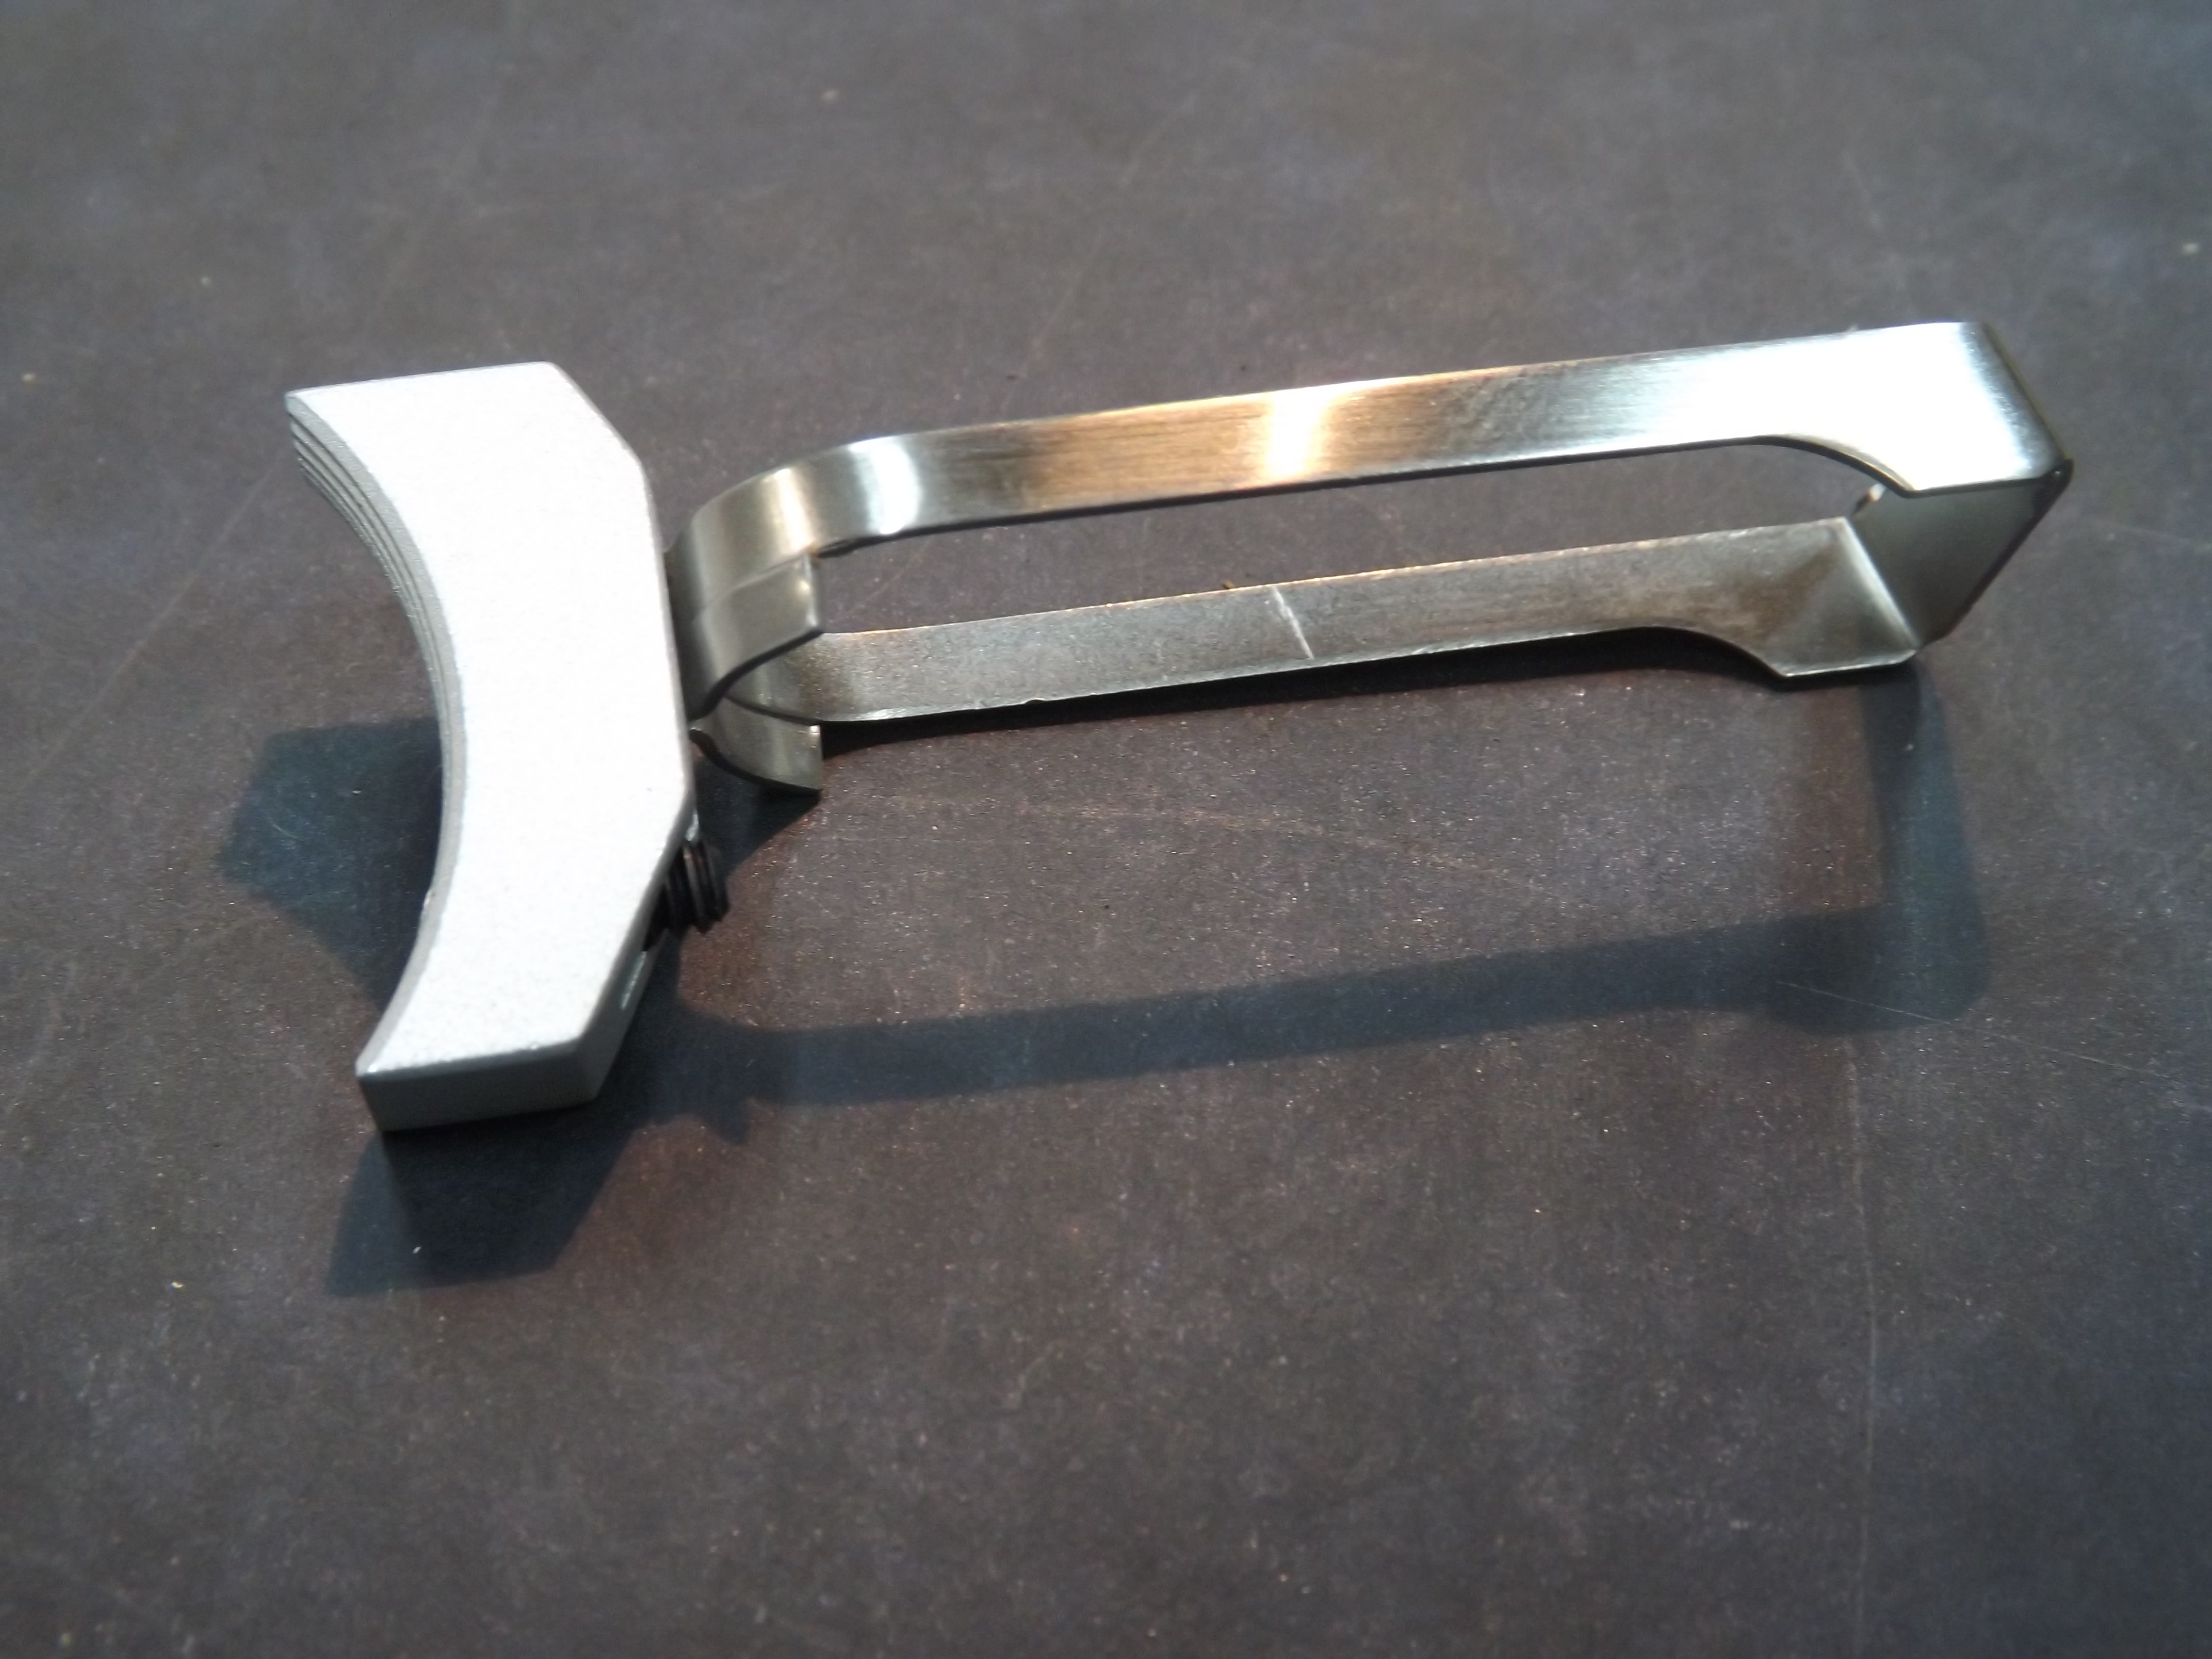
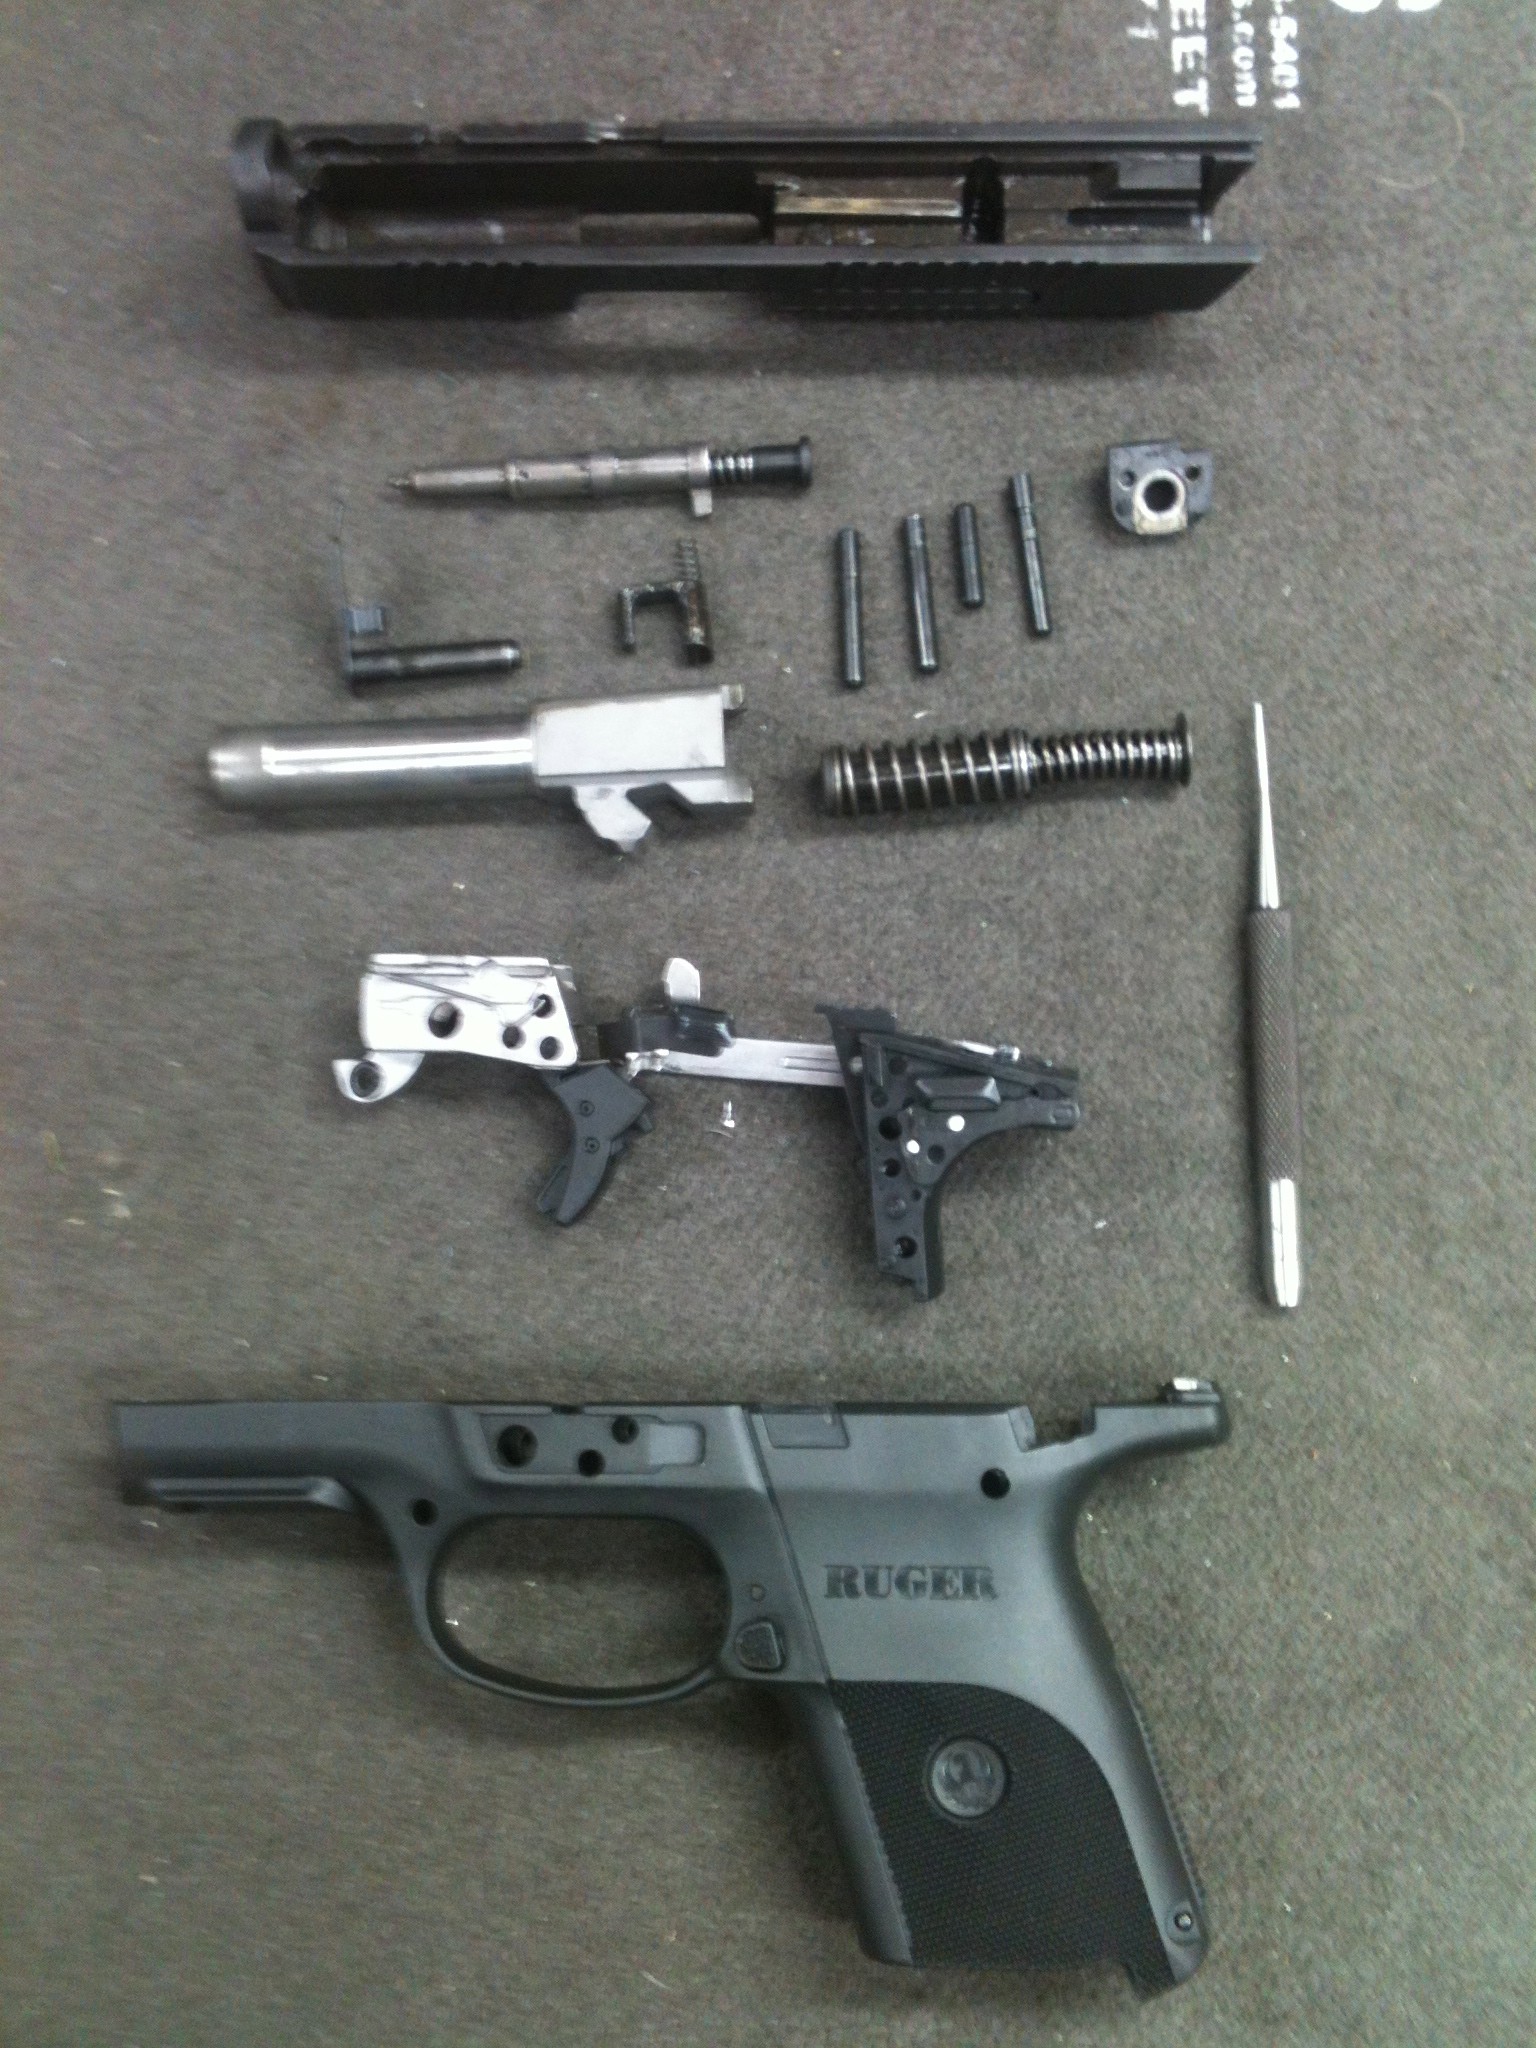
Taking apart the gun starts with removing the grips, cocking the hammer and putting a pin through the mainspring strut to relieve tension on the hammer. I pull the little trigger spring legs off their perches to relieve tension there also. Then I pull the cylinder pin, open the loading gate, remove the cylinder and remove all five of the frame screws, three under the trigger guard and two hidden under the frame extensions on either side of the hammer. When pulling the frame apart there are two spring and plunger assemblies to watch out for. One puts pressure on the back of the grip frame and tensions the pawl. One is in the grip frame under the cylinder and tensions the cylinder stop. They must both be removed for safe keeping or they will find their way into that pile of lost parts that have yet to be found.
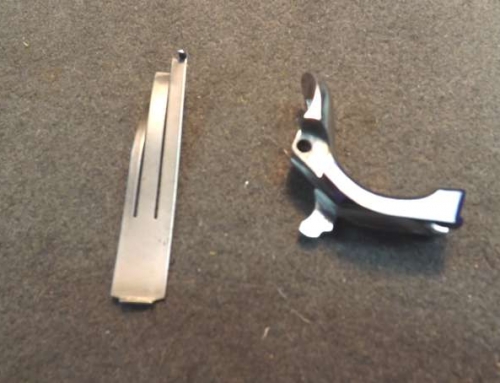
Next, the pins are pushed out and the hammer, trigger, transfer bar, trigger spring and pawl can all be wiggled out of their recess. The trigger pin is retained by a U-spring in the frame. The spring has to be depressed to allow the pin to move past it. The trigger and hammer are the only two parts that need to be smoothed up in this action to produce significant improvement. On this gun, I found the sear surface on the trigger extension to be slightly rounded as well as marked from surface grinding. The rounded section was responsible for the creep. The surface texture left by the grinding contributed to the rough feeling spots during the pull.
I clamped the trigger in my Powers trigger stoning fixture and used a combination of fine diamond stone and fine ceramic stone to cut the surface perfectly flat and square, just to the point where the tip of the sear became sharp. Then I carefully stoned the sear tip at a 45 degree angle to just break the edge and give it increased durability. On the hammer, the sear tip engages a hook. The hook must be perfectly matched to the angle of the sear tip and must be square and perpindicular to the angle of rotation of the trigger. I have a 30 power loupe that lets me see these engagement surfaces, up-close and personal. The hammer hook was already matched to the new sear surface, so all that was required was to stone the milling marks off while keeping the hook surface square and mated with the sear surface. Multiple trips from the vice to the fitting pins and back allowed me to get the hook surface glass smooth and still be matched to the sear. The hammer hooks can also be reduced in depth which removes all pre-break movement from the trigger action. However, I didn’t removed any material in this location. Since the gun is going to be used for hunting, reducing the action more and possibly making it unsafe was not where I wanted to go. I prefer to end up with a nice smooth pull that breaks clean and still gives the shooter a little confidence that he/she has to actually pull the trigger before the gun will fire.
In this case, the owner had already replaced the OEM trigger and hammer springs with reduced power Wolf parts. All that remained was to add a little Brownell’s action lube to the sear and hammer hook and put the gun back together. This is almost a three handed operation. After getting the hammer and trigger back into the frame with the transfer bar, trigger spring, pawl and cylinder stop aligned, kind of – all at the same time, I lined up the pins, pushed them home and carefully replaced the plungers and springs, then wiggled the two frame sections back together, being careful to not kink the plunger springs and to be sure the pawl and cylinder stop extended through their respective windows, the mainspring strut engaged the recess in the hammer, in the right place and the trigger spring up on top of the trigger spring seat on the trigger. The screws went back in with a little blue loctite on the back two. The trigger spring legs were placed back on their perches and the hammer was cocked, the pin removed from the mainspring strut and the strut plate seated in the frame.
Pulling the trigger was very satisfying with a pull weight of 2 1/2 lbs and a nice smooth feel and clean break. The customer has yet to retrieve his gun, but if the pull weight is too light for him. I’ll put the OEM trigger spring back in which will add about a pound of pull weight.
