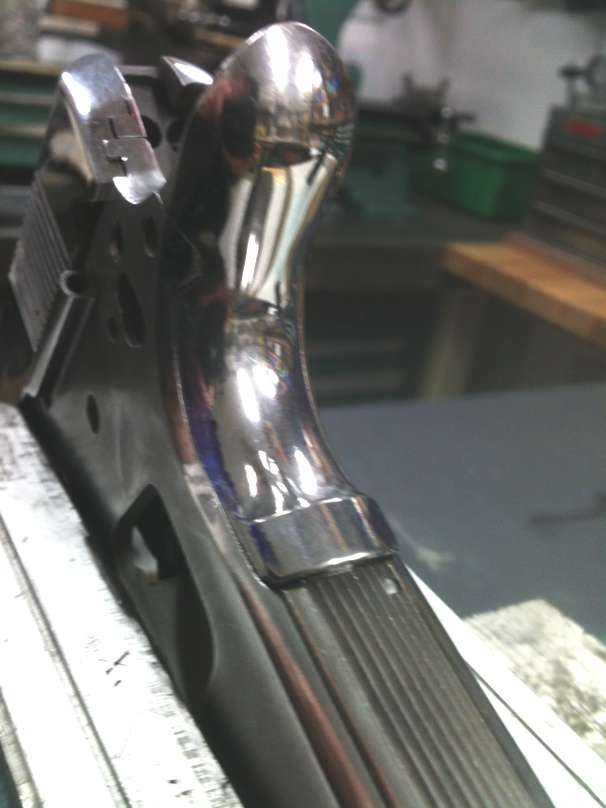
Once the trigger and bow are fitted and moving well in the frame, on a 1911 project, I like to fit the grip safety and the sear spring. The grip safety works by blocking any rearward movement of the trigger bow unless the gun is gripped in the hand. The sear spring applies pressure to both the back of the trigger bow and the grip safety. It also puts pressure on the sear and disconnector, but we’ll work on those in the next installment. First, the grip safety has to be fitted to the frame. In some cases this is merely a drop-in process. In others, substantial contouring and smoothing may be needed, with subsequent refinishing. The idea is to come up with the desired external appearance and fit in the frame and shooter’s hand, smooth pivoting on the pin with full range of motion to the stops in the frame and against the top of the mainspring housing and minimal gaps on the frame to safety fit where the sides and beavertail slide across each other. This fitting can be done by repeatedly installing and removing the grip safety in the frame and filing, grinding, stoning and polishing the surfaces until the movement is frictionless and the contours of the frame and safety blend and meet smoothly without creating sharp edges or pinch points that could be problematic to a shooter. I spend a little extra time here because the grip safety and how it fits has a large aesthetic impact on the look of the gun and helps the gun set low in the hand as well as being very important to the inherent safety of a correctly installed trigger system in the 1911.
 Part of this fitting may entail reshaping the rear frame horns to accept a grip safety with a Wilson, or similar radius at the pivot point, compared to an original and standard configuration where the grip safety pivots between the frame horns and does not surround them as do the more desirable beavertail safeties. Brownell’s and others offer a filing jig that can be attached to the frame horns to guide the filing of the frame to fit the beavertail safeties.
  Getting the fit just right at the pivot point, usually requires marking the filed frame horns with black marker or layout fluid, installing the grip safety, using a slave pin of the right diameter or using the thumb safety pin, pivoting the grip safety up and down, then disassembly, inspection of the marked area for evidence of rubbing, filing or stoning the rubbed area to increase the clearance, remarking, reassembly, more pivoting, reinspection, more filing or stoning, etc., until the pivot is frictionless and the fit is perfect.
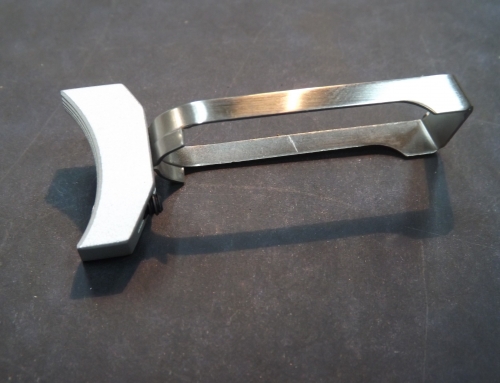
  I like to use the safeties with the added extension, or bump, at the base that ensures a positive safety disconnect when the gun is gripped by the shooter, as well as one that allows a high grip such a the Wilson Combat High Ride Grip Safety. Wilson does offer both the drop-in model and the gunsmith fit model. Although it isn’t needed for strength, in the grip safety, I really like the trademark Bullet Proof model. All of Wilson’s Bullet Proof parts are milled out of solid stock instead of being forged, cast, or metal injection molded. There are none better or stronger, and they can be fitted and finished perfectly, without the potential for casting or forging flaws. Once the grip safety fits and moves well in the frame, remove it, slide the trigger and bow in the frame and push them all the way forward, put the grip safety back in. If you’re using the thumb safety as the fitting pin, swing it to the rear so you can see through the frame cutout for the thumb safety, into the area where the internal extension on the grip safety hits against the back of the trigger bow. It should be necessary to file off the extension on the grip safety, a little at a time, removing and reinstalling, as needed, until the extension just clears the back of the trigger bow when swung back to the rear.
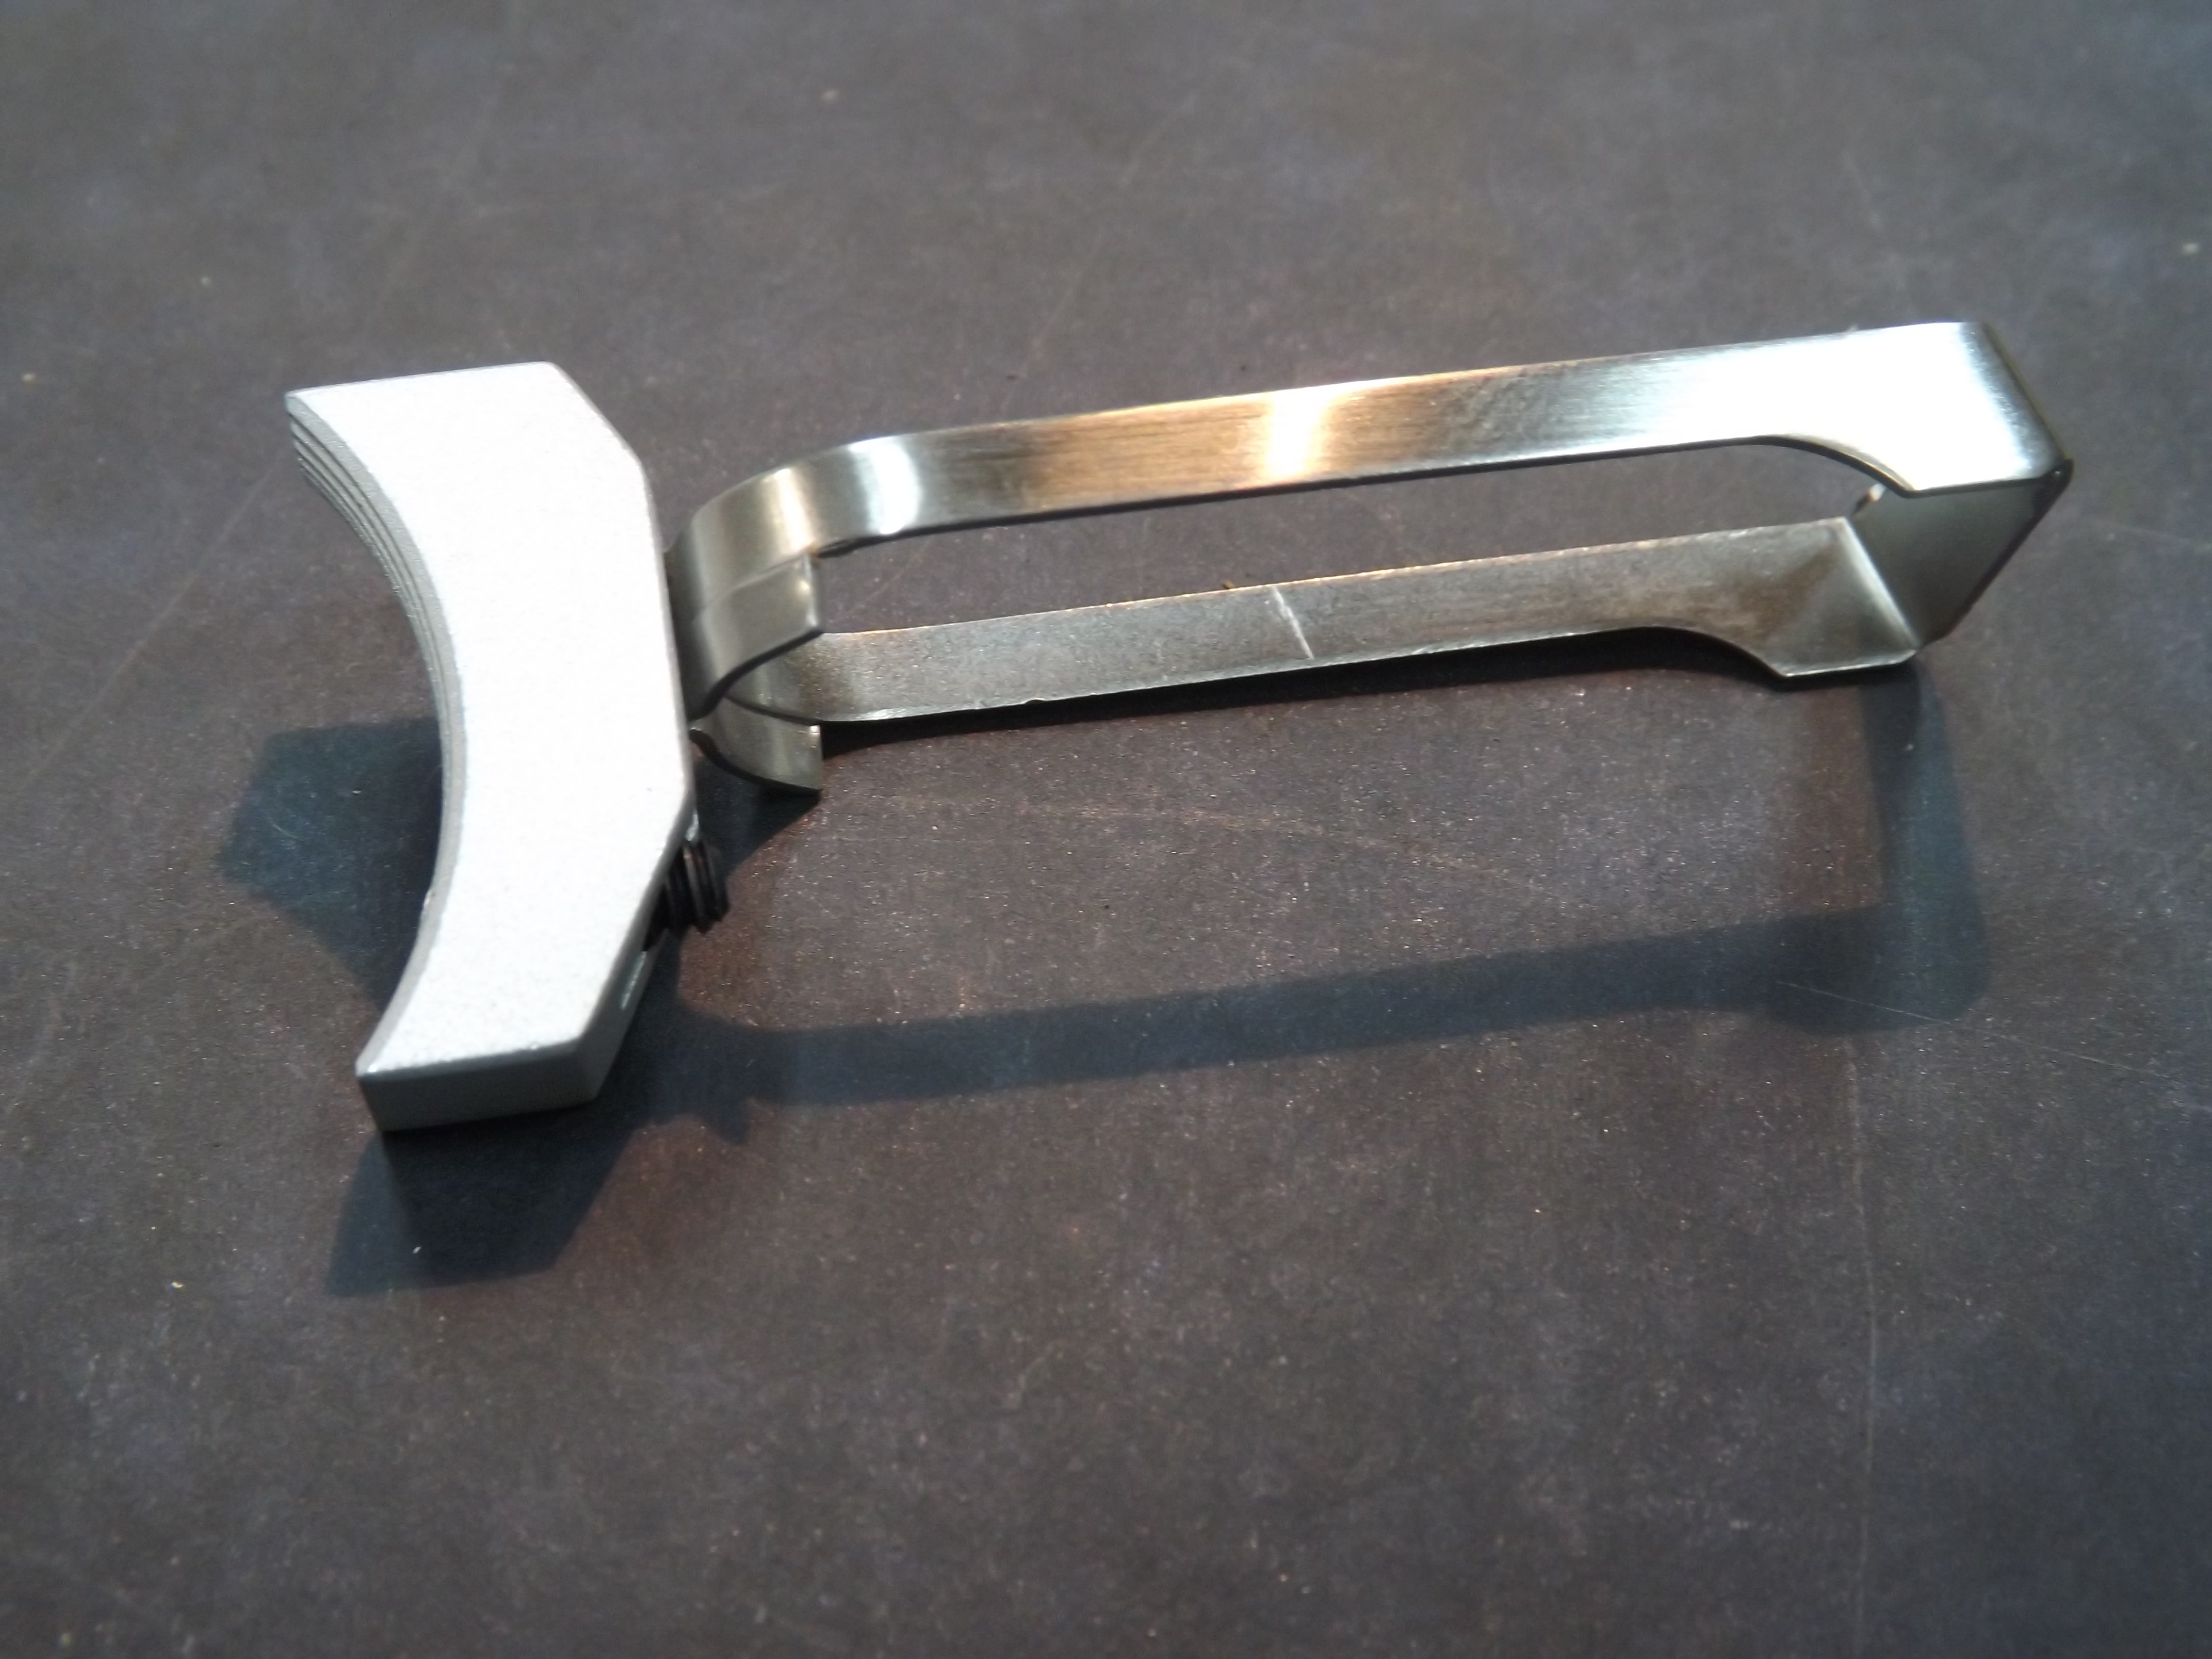
  This is how the grip safety works. The internal extension swings down to keep the trigger bow from moving in the frame until the gun is gripped. Then, when gripped, it swings up, allowing the trigger bow to pass under the extension when the safety is depressed and the trigger is pulled.
 Finally, slide the sear spring into the frame.
  The bent extension on the bottom of the spring fits into the corresponding slot cut in the frame’s spring recess. Slide the mainspring housing into the frame slots, part way, just far enough to tension the sear spring, but not up to where it captures the tab on the grip safety, yet. In this position, you can swing down the grip safety and watch the spring action. The spring should put enough pressure on the back of the grip safety to hold it easily in position to block movement of the trigger bow, but still allow the safety to depress far enough to allow the trigger bow to bypass it when in the gripped position.
 I like to stone a radius on the back corner of the sear spring leg that pushes on the grip safety. Then I polish the radius and the spring contact area on the interior of the grip safety. Smooth and polished surfaces are always better where sliding contact occurs.
Finally, I install the sear spring and grip safety in the frame with the thumb safety in its normal position and push the mainspring housing all the way in and insert the mainspring housing pin. It is sometimes necessary to fit the top of the mainspring housing to the bottom of the grip safety. There must be enough clearance between the two to allow the grip safety to swing freely and not bind or hang up due to friction between the two parts. It is important when fitting this location to not take too much material off of the mainspring housing, as it also acts to retain the tab on the bottom of the grip safety when it is in the out or relieved position. You don’t want any friction or binding, but you don’t want any significant gap in the joint either. Just work slowly, until the gap is just right.
That’s the better part of fitting the back end of a 1911 in relation to the trigger. Next we move on to the hammer and sear, the heart of the project.
